I have had many people ask me about the Letterglow App so I thought I would do a little tutorial on how I add Kellie Stamps digital stamps to my photos. Many people think that you need to have Photoshop for digital stamps but in actual fact you don't. I am no expert on this app and what I know how to do is simply from playing around with the app. This is how I use the app but there may be other ways to this, and if you have another way please share.
A couple of things to note first though:
you need to have "dropbox" both on your computer and on your phone (the basic version of this is free)
your digital stamps need to be in png. format
upload to Dropbox any png. files that you want to add in Letterglow (meaning any digital stamps that you want to add to your photos need to be in your Dropbox so that you can access them)
The photo above has been edited in Letterglow, I added "morning" digital stamp and text and now I will explain step by step how I went about this.
When you open Letterglow it will open to this screen. You can see New Project and any completed projects you have done.
tap on the + screen to start a new project
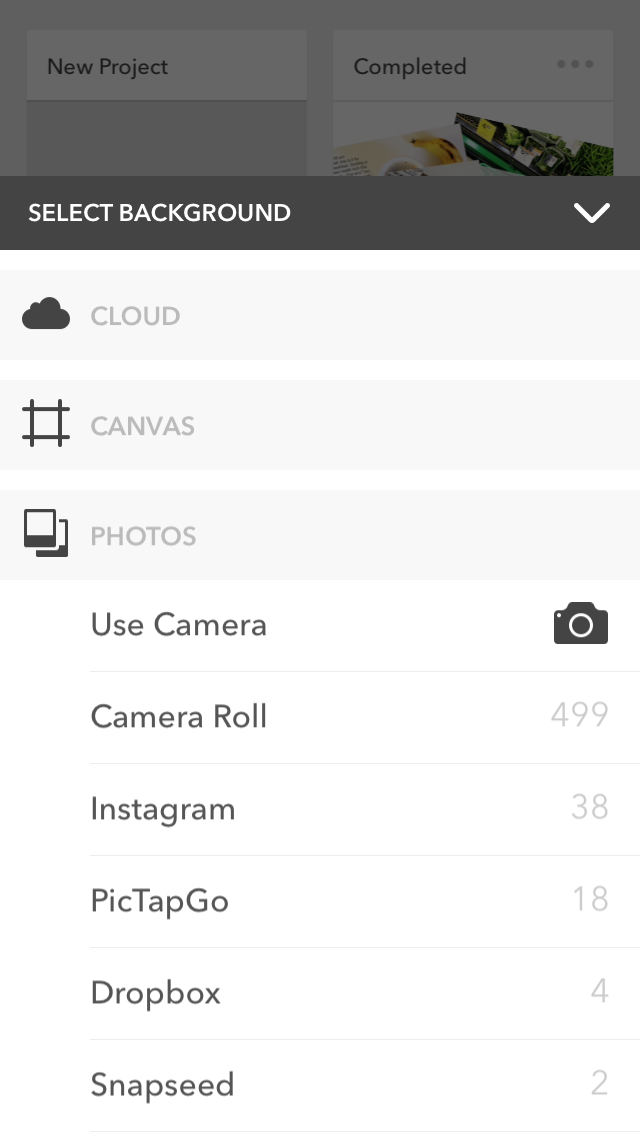
you will then be taken to this screen. This is where you will choose from where your photo is stored that you want to work with. I took my photo from my Camera Roll so I selected "camera roll"
Your image will come up and now you have the option choose how you would like to crop your photo. I kept mine as it was originally taken which is highlighted in green. Once you are happy with your choice select "apply"
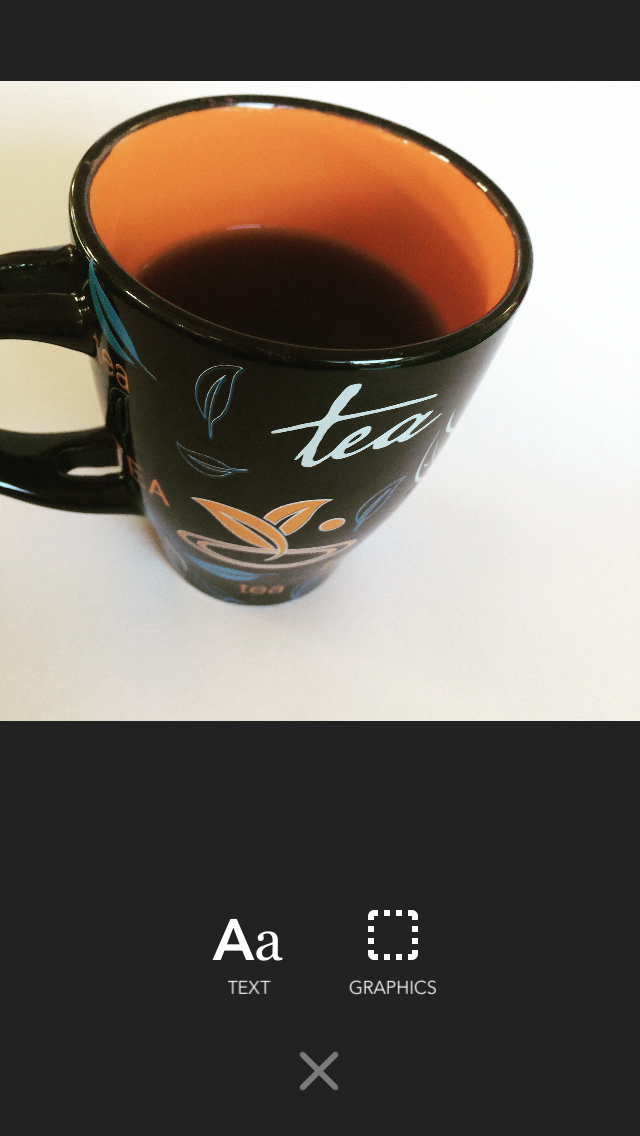
You are then taken to this screen. The white icons along the bottom indicate certain actions that you can take on your photo. We are going to add a digital stamp so you will need to select " + "
the next screen shows two choices, text and graphics. We are going to choose graphics.
This screen allows you to add lots of fun stuff to your photo that are already in the app itself. We are going to add a digital stamp so we are going to select "my graphics"
Along the bottom will appear any digital stamps that you have already added to Letterglow. If you wanted to choose one of these you just scroll along until you find the stamp that you want and then select it. As we are going to add a new stamp we will select the button with the three little dots.
This screen will appear. Select the purple " + "
This screen will appear - this is where you will select where to grab your digital stamp from. Under "cloud" at the top you will see dropbox. Select this
This will take you to your dropbox account where you will see all your files and photos that you have stored there. The stamp that I want is in the file KS 03 AM-toPM-PNG. I selected the file and then chose the stamp that I wanted - " morning"
Once you have selected your digital stamp it will take you back to this screen. You should see the image of the stamp that you chose.
Next select the X at the top of the screen.
you will then see this screen again. Scroll across until you see the digital stamp that you uploaded, select that stamp
Your photo will appear along with the digital stamp that you chose. This is where you can play with your image. You can make it bigger or smaller, change the colour etc. Spend some time playing here, it can be fun seeing how you can change your digital stamp.
this screen shows how to alter the colour of your digital stamp
by selecting black I changed my digital stamp from white to black. You can also alter the depth of colour as well. Again play around with it a little, it's the best way to find out how the app works.
Once I changed my digital stamp from black to white and then moved it to where I wanted it to appear on my photo. You can do this two ways, select the digital stamp and move it around with your finger or use the icon that will appear at the bottom of the screen once you have highlighted your stamp.
(When you have finished with a particular screen, you will notice a long white area at the bottom with a black triangle. This allows you to go back to the white icons that you see in the above photo)
Once you have finished editing your digtial stamp you can add text. Select "text"
(again you will select the + which will take you to this screen)
Firstly choose your font. Select "F" which will take you to another screen to choose a font.
scroll down until you find a font that you like, then select it.
it will appear green with a small dot next to it. Then tap on the white part of the screen at the top.
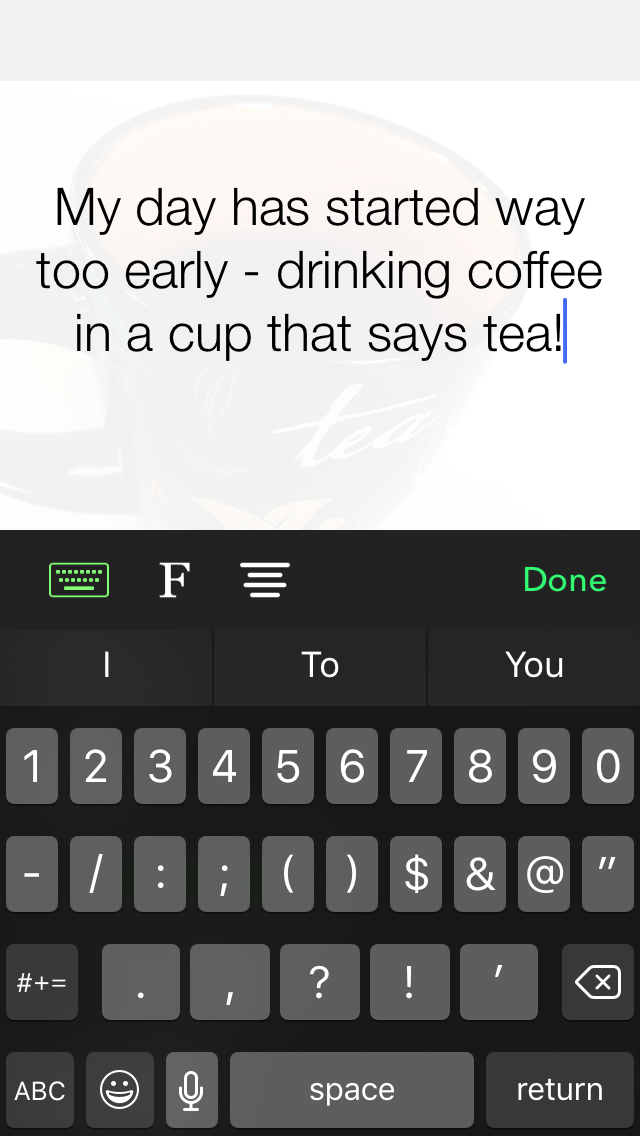
now you can add your text. Once you have finished select "done"
again you can edit your text until you are happy with it. Once you are all happy select " > " . You can then choose the square icon with the arrow, bottom right of the screen to save your photo to your camera roll, dropbox etc.
You will then be asked if you would like to save your draft. I always click Yes just in case I find a spelling error or something. It means I can go back and edit it and not have to start all over again.
Congratulations, you have successfully added a digital stamp and journaling to your photo without the need for photoshop.
This amazing little app has given me so many more ways to use my Digital stamps from Kellie Stamps.
I hope this has been of some help, but please, if you think I have missed something or you have more questions about this, please leave a comment and I will do my best to help you out. The most important thing is to play around with it and have fun. It has certainly changed the way I edit my photos. Quite often I will take a photo then add my digital stamp and journaling right then so that all I have to do later is print out my photo and slot it into my PL album or add it to a layout. Its also a great way to record information that you might not remember later.
Have fun and please let me know how you go.
love me :-)